
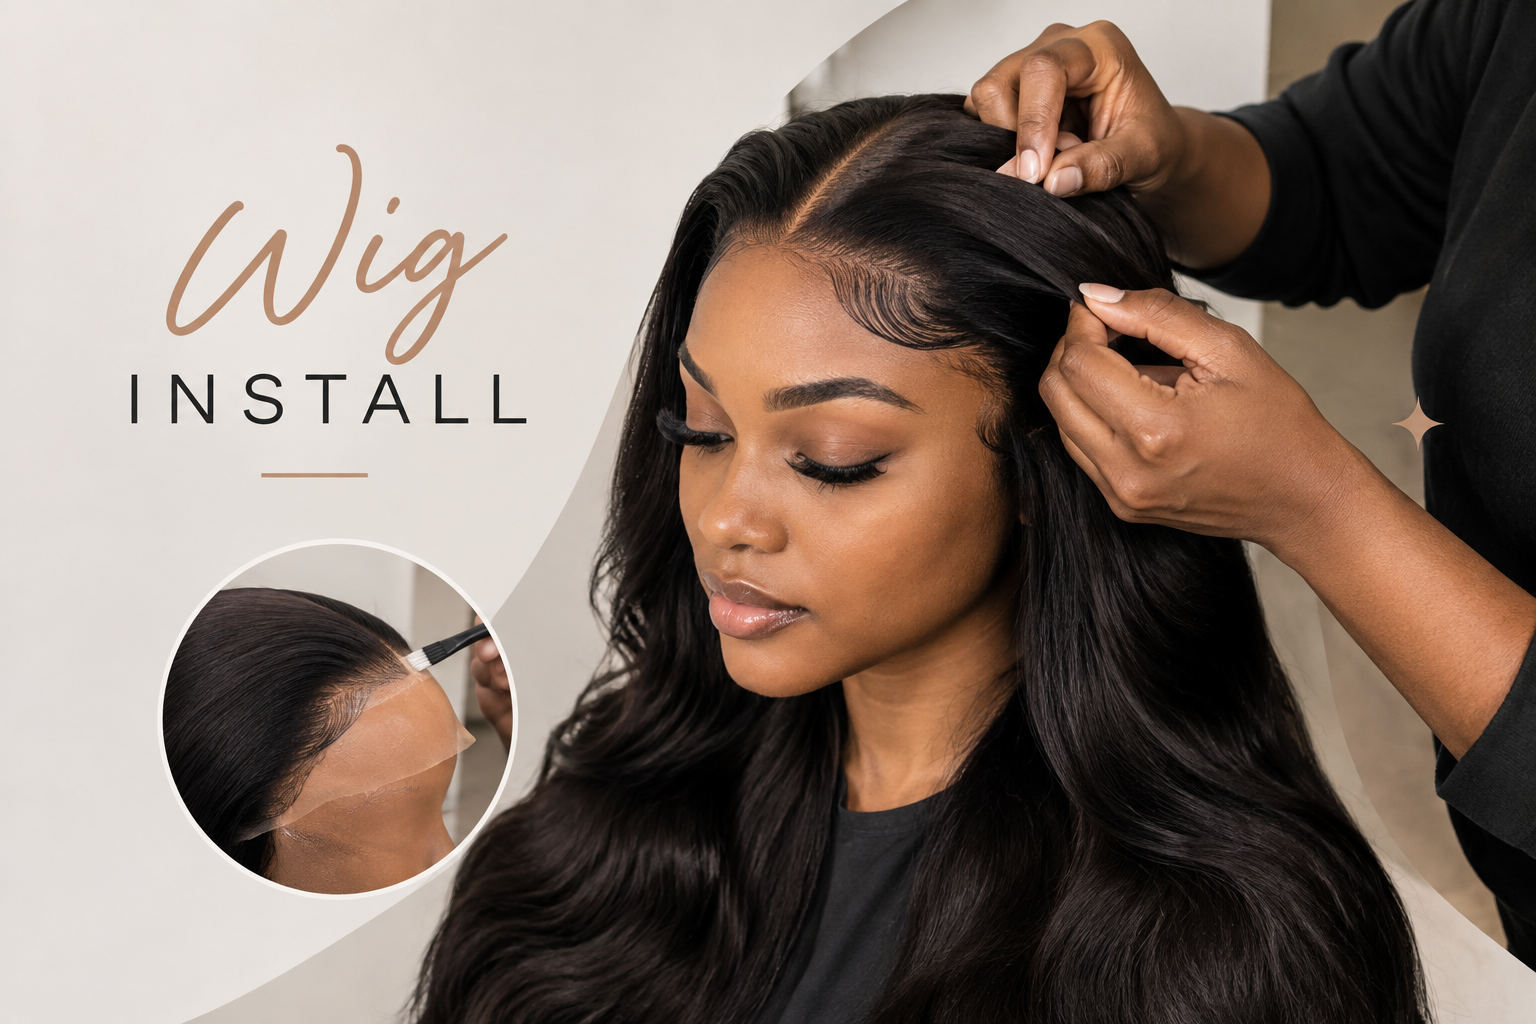
A lace wig install involves prepping your natural hair, securing a wig cap, and either gluing or clipping the lace down for a seamless, natural-looking hairline. With the right supplies and a bit of patience, a salon-quality install is genuinely achievable at home, and knowing how to remove it safely afterward matters just as much as the install itself.
Glue vs. Glueless: Which Should You Choose?
Glue installs use an adhesive along the hairline to melt the lace directly into your skin, creating the most seamless, undetectable finish. This method typically lasts several days to a couple of weeks, making it a strong choice for anyone wanting a long-term, low-maintenance style.
Glueless installs rely on adjustable straps, elastic bands, or built-in combs instead of adhesive, offering a faster, gentler application. This option suits beginners, anyone with sensitive skin, or people who prefer switching wigs daily rather than committing to one style for an extended stretch.
What You’ll Need Before You Start
Gathering supplies ahead of time makes the entire process smoother and prevents mid-install scrambling. For a glue install, you’ll want wig glue or adhesive spray, a wig cap, edge control or gel, a rat-tail comb, small scissors, and a lace tint spray or foundation that matches your skin tone.
For a glueless install, the core supplies shrink considerably: just the wig itself with its straps or combs intact, a wig cap if desired, and a wig band for extra hold if needed. Either way, having everything laid out before starting keeps the process calm rather than rushed.
How to Install a Lace Wig With Glue: Step-by-Step
1. Comb and customize the wig. Gently detangle the wig, then pluck a few strands along the hairline with tweezers to soften the part and make it look more natural.
2. Prep your natural hair. Wash and condition your hair, apply a leave-in conditioner, then braid it into flat cornrows or slick it into a low bun. A flatter base creates a smoother result underneath the wig.
3. Apply and trim the wig cap. Put on your wig cap and trim any excess material around your forehead and ears for a clean, low-profile base.
4. Secure the cap with adhesive. Apply a thin layer of wig glue around your hairline, then press the cap into place to protect your natural edges underneath.
5. Tint the cap to match your skin. Use foundation, powder, or a lace tint spray on the cap so it blends seamlessly with your skin tone rather than standing out.
6. Position the wig and glue the lace. Lay the wig over the cap, align the lace with your natural hairline, apply a thin layer of adhesive, wait until it turns tacky, then press the lace down firmly.
7. Set, trim, and blend. Let the glue dry fully, trim the excess lace with small, jagged motions for a natural edge, then blend with a touch of foundation for a seamless scalp illusion.
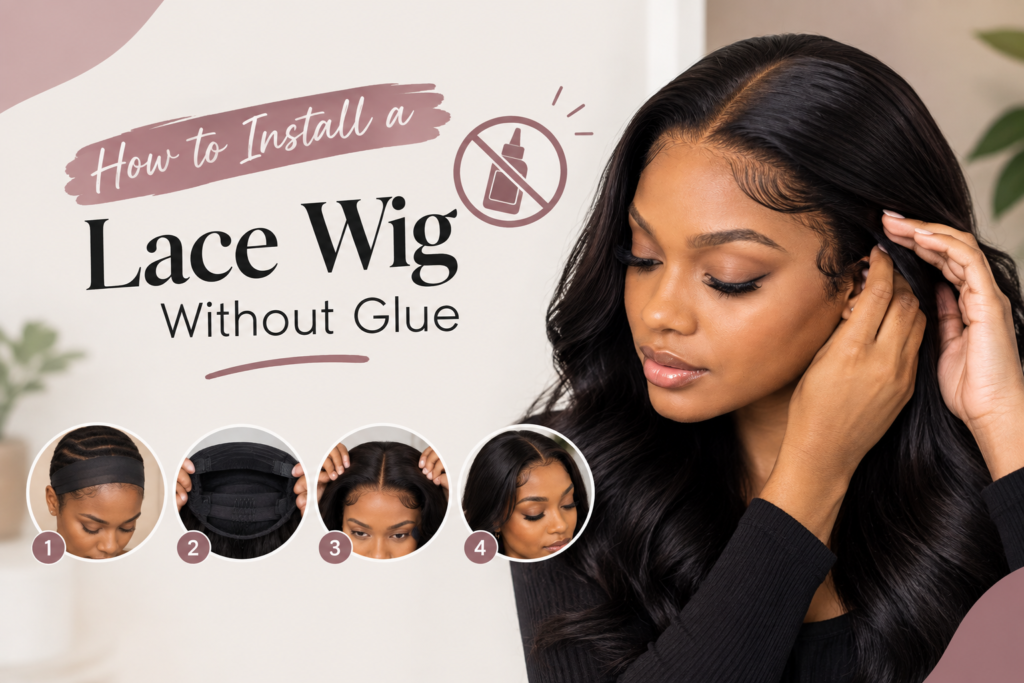
How to Install a Lace Wig Without Glue
Glueless installs skip most of the steps above entirely. Adjust the internal straps to fit your head snugly, then use the built-in combs to anchor the wig securely in place.
For extra hold throughout the day, a wig band worn around the hairline adds security without any adhesive at all. This method is noticeably faster and gentler on your natural edges, making it a solid everyday option.
How Long Does a Lace Wig Install Last?
A glued install typically holds for one to two weeks with proper care, though oily skin or frequent sweating can shorten that window. Glueless installs are designed to come off daily or whenever you choose, offering far more flexibility but no multi-day hold.
Humidity, heavy sweating, and swimming all tend to loosen adhesive faster than normal daily wear. Planning your install timing around any known high-activity days helps you get the most wear out of a glued style before it needs redoing.
How to Remove a Lace Wig Safely
Removing a glued install the wrong way is one of the fastest ways to damage natural edges, so taking this step seriously matters as much as the install itself. Start by applying an oil-based adhesive remover or an oil like coconut or olive oil directly along the glued hairline, letting it sit for several minutes to break down the bond.
Gently work the lace loose with your fingers rather than pulling, starting from one side and working across slowly. Once the wig is off, cleanse your natural hairline thoroughly to remove any leftover adhesive residue, since buildup left on the skin can lead to irritation or clogged follicles over time.
Glueless removal is far simpler by comparison, just unclip the combs and release the straps. Even so, gently massaging the hairline afterward helps ease any tension that built up from a snug fit throughout the day.
Common Mistakes to Avoid
Skipping a patch test before using a new adhesive is a mistake that can lead to unexpected skin irritation. Applying a small amount to your inner wrist or behind your ear 24 hours beforehand catches sensitivity issues before they affect your entire hairline.
Using too much glue is another frequent misstep, since a thick layer takes longer to dry and often looks less natural than a thin, even application. Rushing the tinting step is also common; skipping it leaves a visible demarcation line where the cap meets your skin, undermining an otherwise perfect install.
Aftercare Tips for a Longer-Lasting Install
Protecting your install at night significantly extends how long it looks fresh. Wrapping your hairline with a silk or satin scarf, or wearing a bonnet, reduces the friction that causes premature lifting and frizz while you sleep.
Avoiding heavy oils directly on the lace itself, while still moisturizing your natural hair underneath, keeps the bond strong without weakening the adhesive prematurely. Gentle brushing, rather than aggressive detangling, also helps the wig maintain its shape and shine for longer between installs.
Frequently Asked Questions
How Long Does a Lace Wig Install Take?
A full glue install typically takes 45 minutes to an hour for beginners, though experienced users often complete it in 20 to 30 minutes. Glueless installs are much faster, usually taking 10 minutes or less.
Can I Wear a Wig Without a Wig Cap?
Yes, especially if you have very short hair or are bald, though a cap is generally recommended for longer or thicker hair. A cap helps the wig sit more securely and creates a smoother, more natural-looking base.
Is It Bad to Sleep in a Glued Wig?
It’s not ideal, since movement during sleep can cause friction that leads to lifting or tangling. Wearing a silk or satin bonnet while sleeping significantly reduces this risk if you choose to keep your install on overnight.
What’s the Best Glue for a Natural-Looking Install?
Thin, water-resistant adhesive sprays or glues tend to create the most natural, long-lasting melt without looking heavy or visible. Testing a small amount first helps confirm both the hold and how it interacts with your specific skin type.
How Do I Remove Glue Residue From My Hairline?
An oil-based adhesive remover or a natural oil like coconut oil breaks down leftover glue effectively when massaged gently into the skin. Follow up with a gentle cleanser to fully clear any remaining residue and prevent irritation.
Final Thoughts
A flawless lace wig install comes down to preparation, patience, and choosing the method, glue or glueless, that actually fits your lifestyle. Removal and aftercare deserve just as much attention as the install itself, since rushing either step is what typically leads to damaged edges or a shortened wig lifespan. With practice, what feels complicated the first time becomes a quick, reliable routine within just a few tries.
Adhesive products and skin sensitivities vary from person to person, so results and wear time may differ from what’s described here. Patch testing any new adhesive before a full install is always a good precaution.
